Photoshop is the best image editing tool no doubt, But it is not only used for image editing. It is widely used for making website templates, But the main problem designers faced is to convert there design in to HTML. So today i have added some best and detailed tutorials which will teach you how to make psd template and then convert it into HTML.
Showing posts with label html. Show all posts
Showing posts with label html. Show all posts
Wednesday, April 13, 2011
20 Weird Tutorials Converting PSD to HTML
Photoshop is the best image editing tool no doubt, But it is not only used for image editing. It is widely used for making website templates, But the main problem designers faced is to convert there design in to HTML. So today i have added some best and detailed tutorials which will teach you how to make psd template and then convert it into HTML.


Saturday, March 26, 2011
Create Floating Back to Top Button on Blogger

Or too much comments appears on your articles?
Now you can reduce those efforts by using a simple script, which enables go to top floating button on your blogger blogs.
See this example:

*it shown on the right-bottom on my page
Three Steps How to create it:
- Log in to Blogger, go to Layout section and then click on Add a Gadget -> HTML/JavaScripttype. (Position of the widget is NOT important, it can be anywhere).

- Paste the simple script below:*the button used on the default URL http://i993.photobucket.com/albums/af55/weirdeetz/artdeetz/top.png is the same button that used on this blog.
 To use your own button image, please change the URL with your own. Or you can download some images at the end of this tutorial.
 - Press save. And you're done! The widget should now appear on your blog.

To use your own button image, please make sure the image has 50x50px dimension and has transparent *.gif or *.png file. Here some images you can download:


Saturday, February 19, 2011

Friday, February 4, 2011


Sunday, July 12, 2009
HowToNavigateYourBlog'sHeader
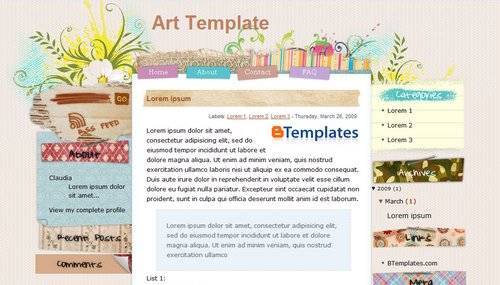 Once upon a time ^^ i found an awesome free blogger template when i type "3 colums blogger templates" as keywords in my Google search engine. Holly Google brought me to this page designed by EZwpthemes. Then i've download those script and images and change it graphics with my own style for my adorable friend's blog. It looks like this below:
 I've made some improvement, adding a navigation form with simple html in the header. In the Setting>Page Elements, I've editing the header like the image below:
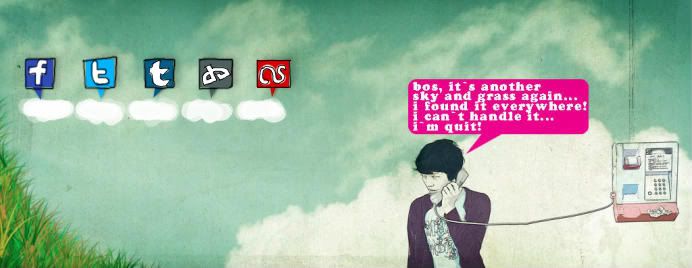 I used this image above as my header background.
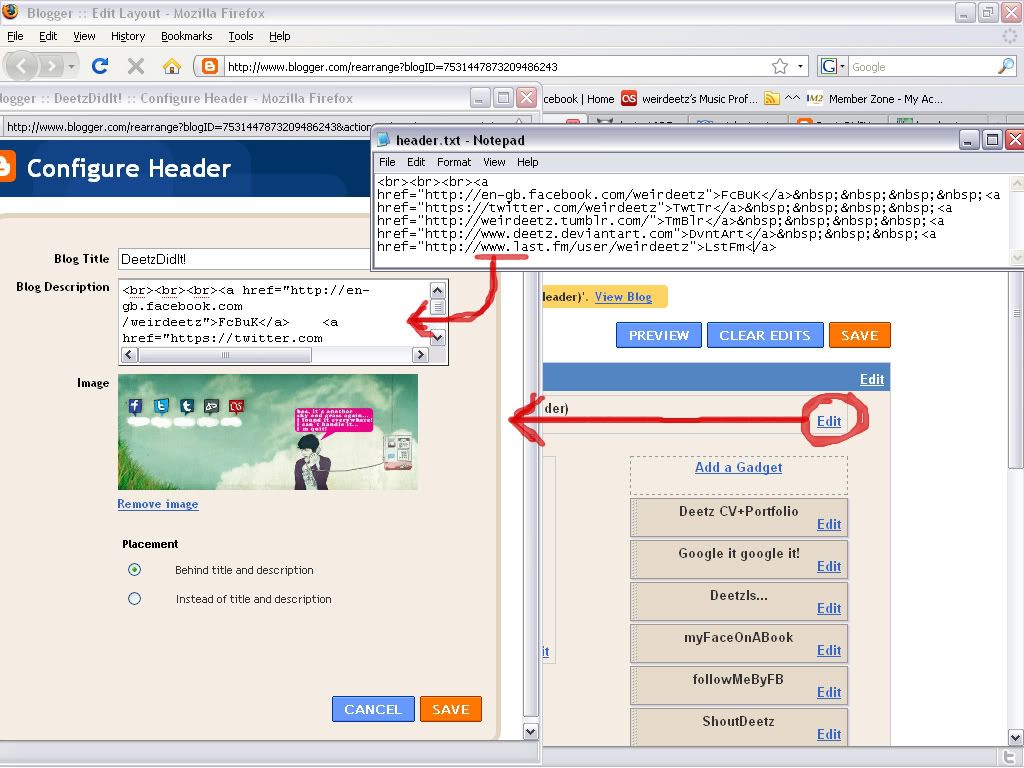 Because of the header configuration in blogger has limited characters (max 500 characters) so I used a very simple html script, like this:
Hope it will usefull. Cheers! ^^
Subscribe to:
Comments (Atom)